


Estimated read time: 5 minutes
Our seedlings are designed to thrive in Farmstands and Counterstands, but they can also be successfully grown in raised beds, containers, and traditional gardens. Whether you're transplanting young seedlings or moving mature plants into soil, a few simple steps will help ensure a smooth transition and healthy growth.
Here's what we'll review:
- What your seedlings need to thrive in soil
- How to choose the best spot in your garden
- Watering and feeding tips for healthy growth
- How to acclimate and transplant new seedlings
- How to move mature Farmstand and Counterstand plants into soil
- What to expect during the first two weeks after planting
- Tips for ongoing care and bigger harvests
Keys for Success
1. Sunshine, Seasons, and Climate
- Aim for a minimum of 6 sun-soaked hours daily.
- Climate? Yup, it matters! Dive into this climate zone resource to find your sweet spot.
- Seasons shape your garden too. Check this tool to see what's best to plant when (note: we might not have all varieties listed).
2. Soil & Feeding
- Enriched soil = happy plants. Refresh it every six months for best results.
- Give your greens a boost! With every watering, mix in a teaspoon each of Lettuce Grow Part A & B Nutrients per gallon.
3. Watering
-
Newly transplanted seedlings need consistent moisture while they establish roots.
- For the first two weeks after planting, keep the soil evenly moist and never allow it to completely dry out.
-
After plants are established, allow the top inch of soil to dry slightly between waterings. Depending on your climate, this may mean watering anywhere from daily to once per week.
- When in doubt, check the soil. If it feels dry up to your first knuckle, it's time to water.
Seedling TLC Instructions
Step 1: Acclimate Your Seedlings
When your seedlings arrive, place them outdoors in a shaded area for 3–5 days before transplanting.
This allows them to gradually adjust to outdoor temperatures, sunlight, and wind.
Keep the growing medium moist during this period and transplant in the late afternoon or evening when temperatures are cooler.
Step 2: Plant Your Seedlings
Before planting, space your crops appropriately according to their mature size. Larger crops like tomatoes, cucumbers, squash, and peppers require more room than herbs and leafy greens.
To transplant:
- Loosen the soil and dig a hole slightly wider and deeper than the grow medium (approximately 2 inches wide by 3 inches deep).
- Add a small amount of water directly into the hole.
- Gently place the seedling into the soil.
- Cover the entire grow medium with soil while keeping the plant upright.
- Water thoroughly after planting.
To help seedlings adjust to their new environment, water them with a nutrient solution made from 1 teaspoon each of Lettuce Grow Part A and Part B Nutrients per gallon of water.
Congratulations—you've started your garden!
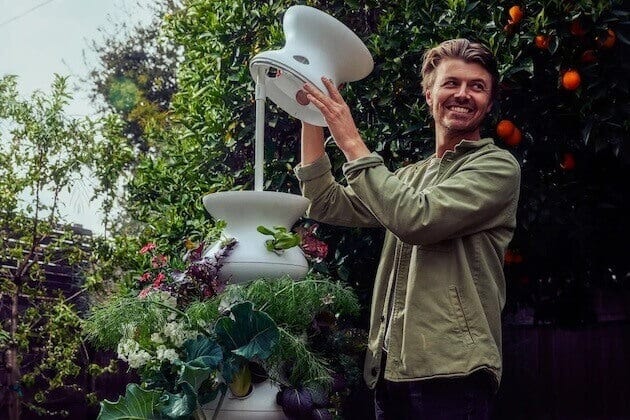
Transplanting Mature Farmstand & Counterstand Plants into Soil
Many larger crops—including tomatoes, peppers, cucumbers, kale, chard, and herbs—can continue growing in soil after spending time in your Farmstand or Counterstand.
Because these plants have been growing with constant access to water and nutrients, they may need a short adjustment period as they adapt to life in soil.
Before Transplanting
Choose a location with appropriate sunlight for the variety and prepare nutrient-rich, well-draining soil.
Water the planting area thoroughly before transplanting so the soil is evenly moist.
How to Transplant
Carefully remove the plant from your Farmstand or Counterstand.
If roots have grown through the net cup, gently loosen them as needed without removing too much of the root system.
Dig a hole slightly larger than the root mass and place the plant into the soil. Backfill around the roots and ensure the plant is standing upright.
Water deeply after planting using a solution of 1 teaspoon each of Lettuce Grow Part A and Part B Nutrients per gallon of water.
The First Two Weeks
The first 7–14 days are critical.
Hydroponically grown roots are accustomed to constant moisture, so mature transplants often require more frequent watering while they adjust.
Keep soil consistently moist during this period, but avoid waterlogged conditions.
Some temporary wilting during the hottest part of the day is normal. Providing afternoon shade during periods of intense heat can help reduce stress and improve transplant success.
What to Expect
Most mature plants experience a brief adjustment period before resuming active growth.
Once established, they can continue producing harvests for weeks or even months, depending on the variety and season.
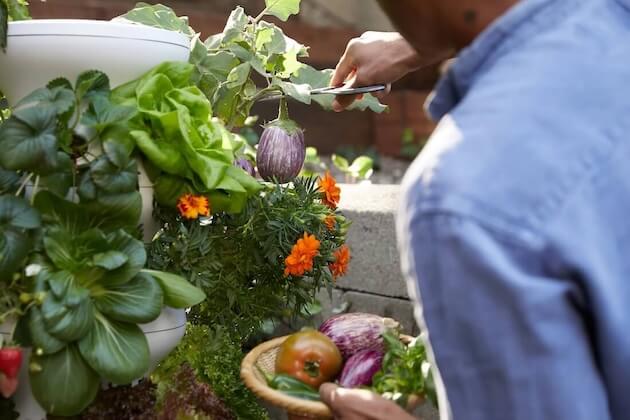
Continue harvesting regularly and monitor plants for signs of water stress, pests, or nutrient deficiencies as they settle into their new environment.
Post-Planting Care
The first two weeks after transplanting are the most important.
Monitor soil moisture daily, especially during warm weather. If the soil feels wet, hold off on watering. If it feels dry, water as needed.
Depending on your climate, plants may need watering once per day, multiple times per day, every other day, or less frequently.
Additional tips for success:
- Provide temporary shade during extreme heat.
- Support climbing crops like cucumbers, peas, and pole beans with a trellis.
- Monitor plants regularly for pests and signs of stress.
- Expect a small amount of transplant shock during the first week.
With proper care, plants typically rebound quickly and begin putting on new growth.
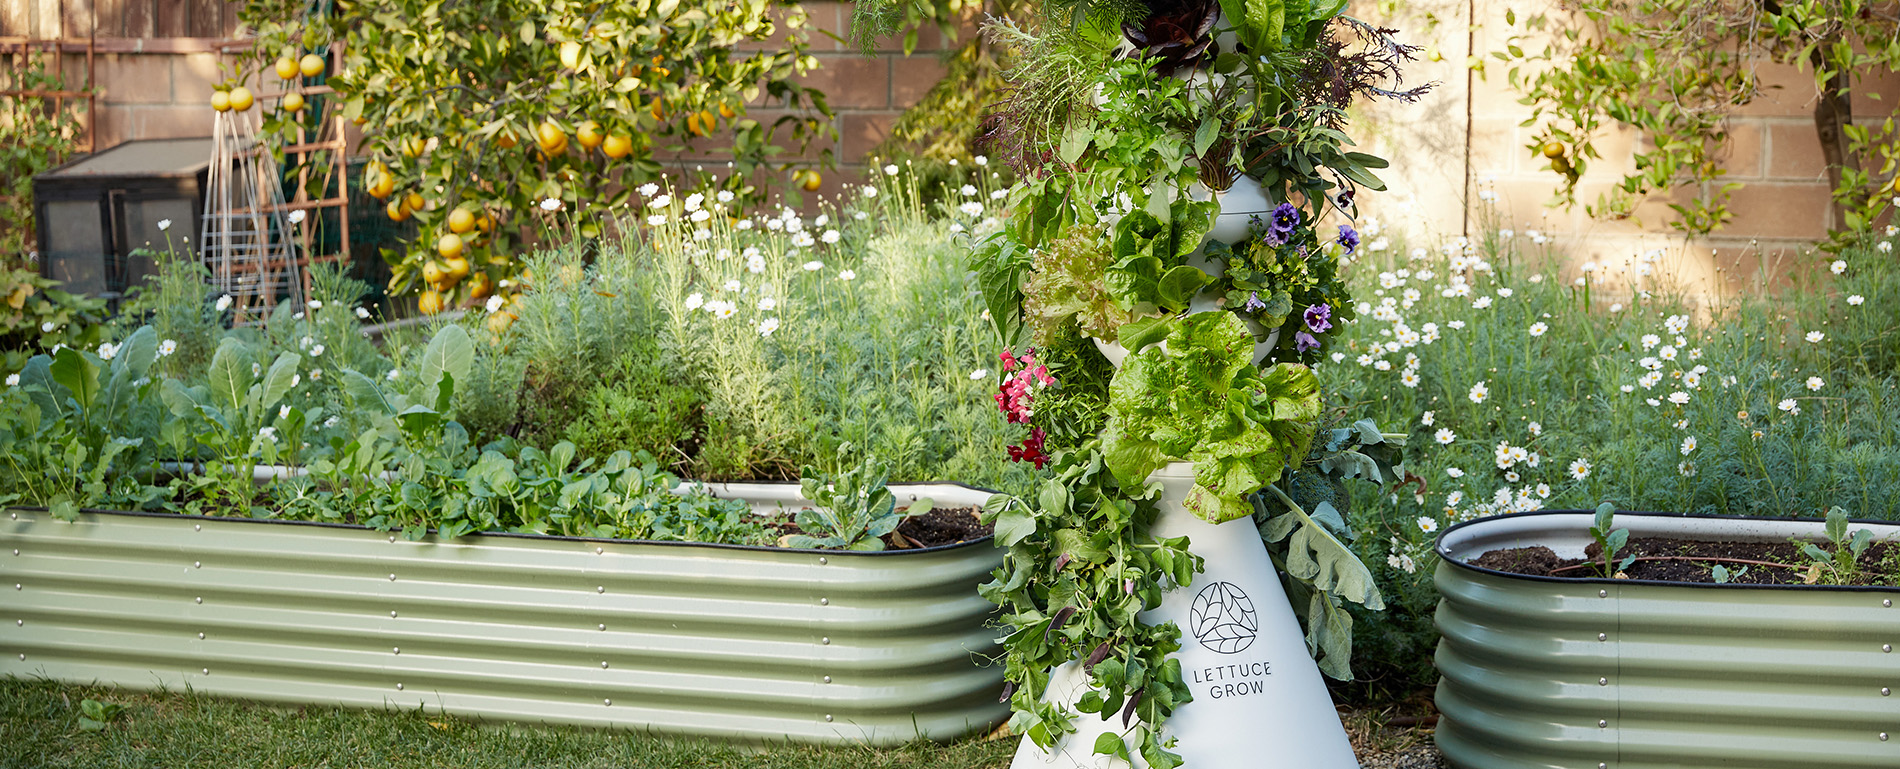
Seedling Rotation Plan
Maintaining a productive garden is all about succession planting—adding new plants while harvesting and retiring older ones.
Start by asking yourself: What is my gardening goal?
Fresh Herbs & Greens Year-Round
Plant new seedlings every 2–4 weeks to maintain a continuous supply.
Seasonal Vegetables
Focus on caring for existing plants and replant as crops finish producing.
A Mix of Both
Refresh portions of your garden every 4–6 weeks. Growing plants at different stages of maturity helps ensure more consistent harvests throughout the year.
No matter your goal, regular planting, harvesting, and observation are the keys to a thriving garden.
Happy growing!