
Acclimating Your Seedlings
Young seedlings require extra temperature and hydration care to acclimate successfully, especially after traveling for several days in warm temperatures. Follow these instructions to keep them happy and hydrated for up to 3 days:
- Open the top of the seedling clamshell to allow fresh air circulation and position it so the seedlings sit upright.
- If the brown "grow medium" feels dry, add a small splash of water directly onto it. If it feels wet to the touch, simply place plants in a cool, ventilated space (if the weather is between 55-80F, you can place in the shade outdoors, otherwise keep indoors for now).
- Gently mist the seedlings with cool water using a spray bottle (just 3–5 pumps per clamshell). This will help perk up the leaves after travel.
- Keep them in a cool shaded space for at least 2 hours (or overnight if they appear visibly stressed). Don’t let the grow medium dry up in this time.
- Wait until seedlings look more perky/ can stand up on their own outside of the clamshell before planting. This may take a full 24hrs.
- For outdoor Farmstands, plant when the temperature is between 55–80°F. For indoor stands, plant with the lights turned off.
*Transportation can be stressful for seedlings so don’t worry if you receive a couple that look wilted or have minor leaf damage upon arrival every now and again. Seedlings are extremely resilient and typically perk up after a few days in the farmstand or counterstand! If your seedlings look weak or unhealthy, follow the above instructions 1-2, then leave them indoors for an extra 1-2 days; finally, move them outside to acclimate in full shade the following day before step 3.
Extra Tips for Post-Shipping Care in Extreme Heat
*A tank reset shortly before planting summer seedlings will help ensure successful transplanting and growth.
If you order seedlings during summer, they'll need extra TLC after their warm journey. Taking time before planting helps them survive transplant shock after hot shipping conditions.
For outdoor growing: After following the standard acclimation steps but before adding to your Farmstand, place your seedlings outside for a day or two in the shade/partial sun. Sprinkle with water to prevent drying out. This allows them to adjust to their new environment before planting—a process that takes longer after hot-weather shipping.
For indoor growing: After standard acclimation (above), let the seedlings sit upright in the open clamshell indoors, keeping the grow medium moist. Plant them in your Farmstand the next day, preferably when the lights are off or shortly before.
- Don't worry if a few seedlings look wilted upon arrival—transportation can be stressful for them. Seedlings are remarkably resilient and typically perk up after a few days in the Farmstand! If seedlings appear weak or unhealthy, follow the instructions above, leave them indoors overnight, then move them outside to acclimate in full shade before transplanting. You can trim yellow or wilted smaller side leaves to direct energy toward new growth.
You can find post-travel care recommendations on the insert included with your seedlings or on their seedling page.
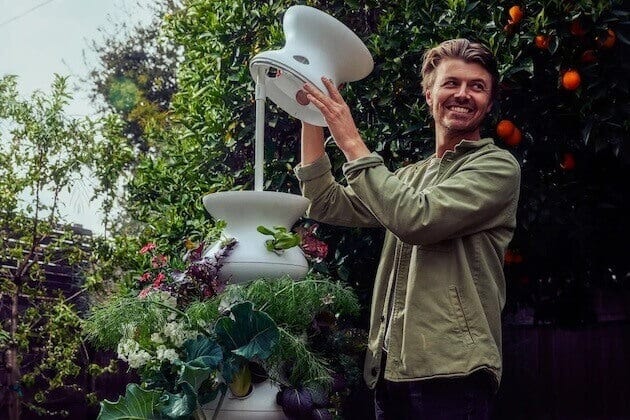
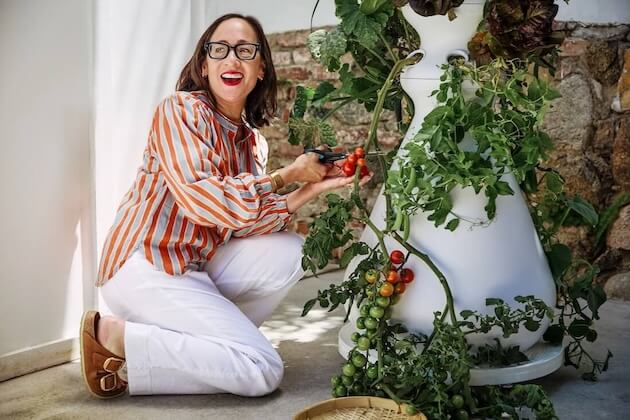
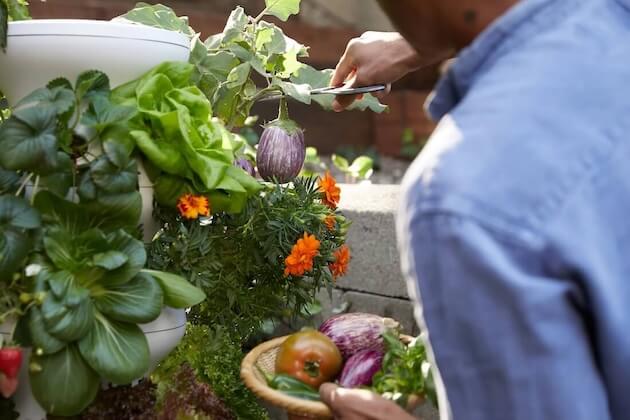
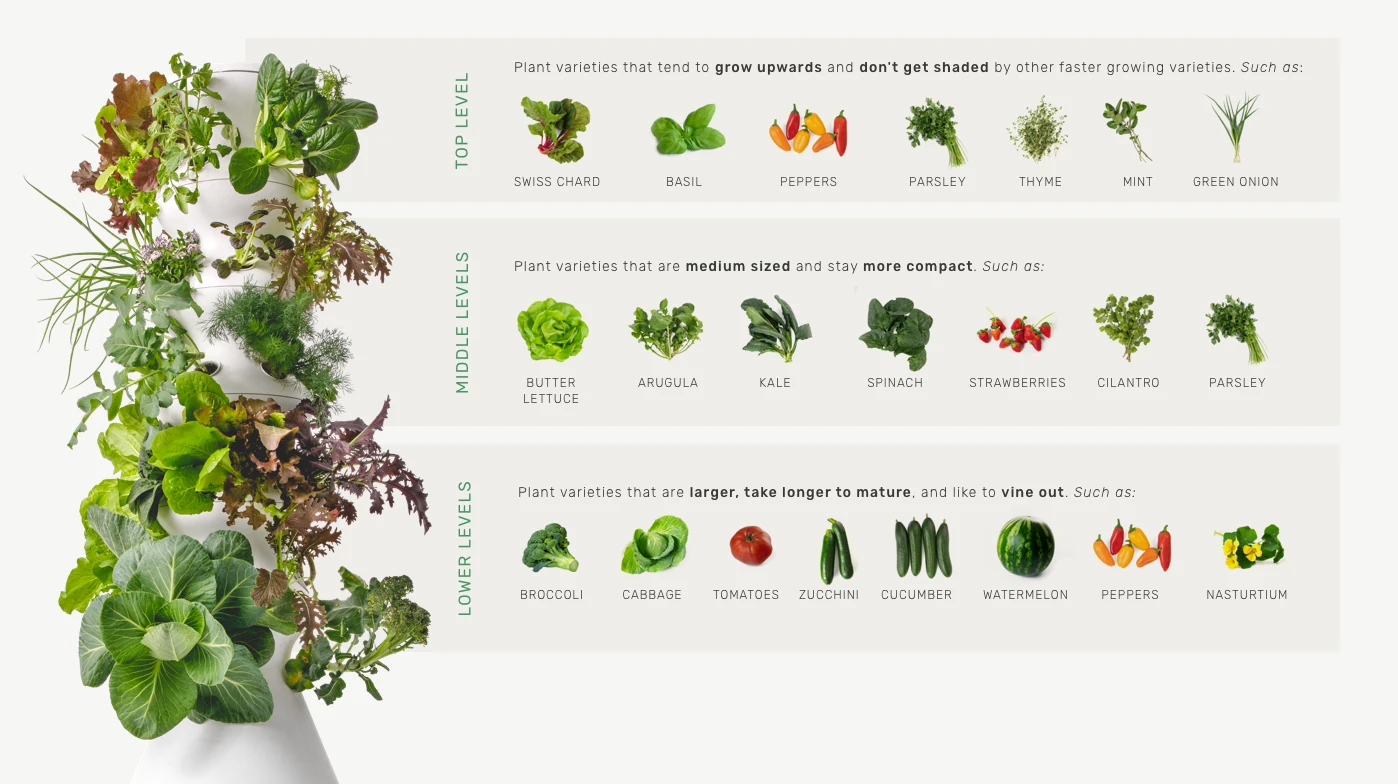
Where to Plant Seedlings
Different plants are better suited for different levels of the Farmstand. Plants that produce large growth should be planted on the bottom level of the Farmstand while plants that produce vertical growth should be planted on the top level of the Farmstand. This keeps growth manageable and prevents other plants from getting shaded out.
You can find location recommendations on the clamshell your seedlings arrive in, on their seedling page, or by referencing the chart below.
Counterstand Seedlings
A reminder that not all seedlings will thrive in the Counterstand. To confirm if a particular seedling is a good fit, visit our seedlings page and choose "Counterstand" from the filter for "Growing System Type."
Cotyledon Leaves
The first set of leaves a seed produces once it germinates are referred to as cotyledon leaves. Their bean shape looks distinctly different from a plant’s “true” leaves that it produces as it matures. These leaves are called true leaves because their shape and form is what will continue growing until the plants final stage.
Eventually, cotyledon leaves will become discolored and die off. This is normal and not a sign that your seedlings are unhealthy. They can be left on the plant to fall off on their own or they can be cut off. If the first set of true leaves look wilted or discolored upon arrival or right after planting, wait until you have a new healthy set grown in (typically takes 1 week) then you can prune away any unhealthy looking foliage. This practice of pruning off dead or wilted leaves should be continued for the entire life cycle of the plant to promote new growth, air flow, discourage pests/diseases, and keep plants looking healthy and vibrant.
Nutrient Residue and Algae
A thin white layer of nutrient residue or green algae may develop on the top of your seedlings’ grow medium. This is caused by nutrients settling over time and drying in between watering cycles or the sun reacting with the nutrients when the grow medium is saturated with water. It is a normal occurrence in hydroponics and nothing to worry about! If you'd like, you can apply a small amount of diluted 3% food grade hydrogen peroxide to the tops of the grow medium directly via spray bottle (dilute at a rate of 3:1 peroxide:water) .
Additional Notes
It will take about 1-2 weeks for your seedlings to really get growing - you'll see much faster growth in weeks two, three, and four. If you want to know when to expect different varieties to be harvest-ready, check out our seedling pages.
As you get ready to harvest, make sure to reorder more seedlings from our shop!